Do-It-Yourself-1: Welcome, Young Scientists! Let’s Explore Multiplication!
Today, we’re going to unlock the power of multiplication using everyday items! Multiplication is a super-efficient way to count equal groups, and it’s all around us. Think about how many wheels are on two cars, or how many legs are on three spiders. We’ll start by building simple models to understand these concepts clearly.
Here’s your first challenge:
- Gather Your Materials: Find about 30-50 small, identical objects. These could be dry beans, small pasta pieces, buttons, pebbles, or even small coins. You’ll also need a piece of paper and a pencil or marker.
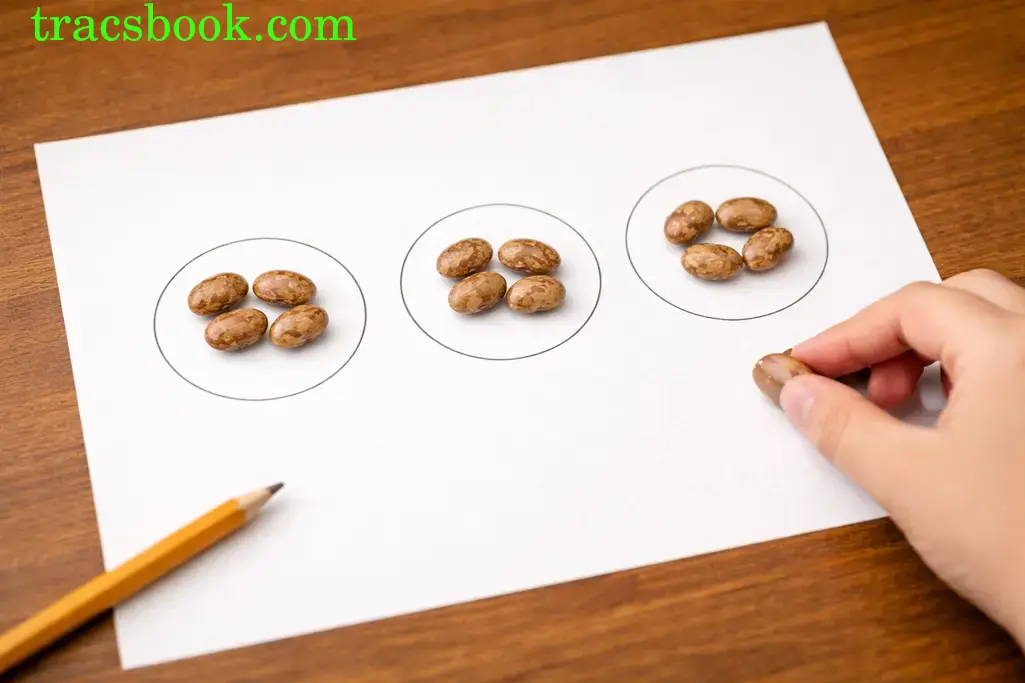
- Create Groups: On your paper, draw 3 separate circles. Each circle represents a “group.”
- Place Items Equally: Now, place 4 of your chosen objects inside each circle. Count them carefully to make sure each group has exactly 4 items.
- Count the Total: After placing the items, count all the objects you have on your paper. What total number do you get? This shows you that 3 groups of 4 items gives you a total.
Build your own model!
Do-It-Yourself-2: Building Multiplication Arrays
Now that you’ve seen multiplication as “equal groups,” let’s explore another powerful way to visualize it: arrays! An array is simply arranging items in rows and columns, just like tiles on a floor or eggs in a carton.
Here’s what to do next with your materials:
- Clear Your Paper: Gently remove the objects from your circles and set them aside.
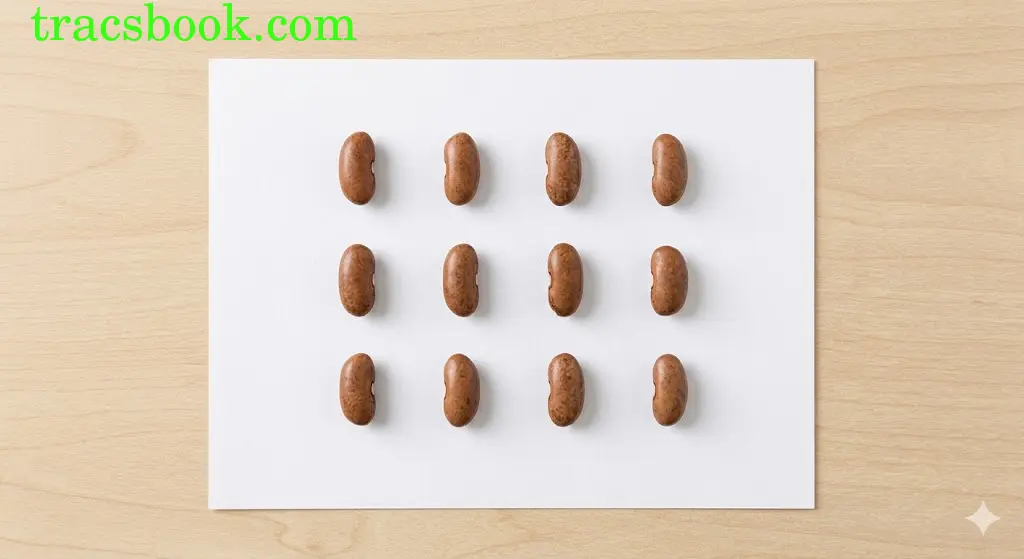
- Form Rows: Take 4 of your objects and arrange them in a straight line across your paper. This is your first “row.”
- Add More Rows: Now, directly below your first row, create a second row with 4 more objects. Make sure it lines up perfectly under the first row.
- Complete the Array: Add a third row, again with 4 objects, lining it up with the rows above. You should now have 3 rows with 4 objects in each row.
- Count Again: Count all the objects in your array. Do you get the same total as when you had 3 groups of 4? This shows that 3 rows of 4 is the same as 3 groups of 4.
Build your own model!
Do-It-Yourself-3: Discovering Patterns in Arrays
Excellent work building your arrays! Did you notice how organizing objects into rows and columns makes counting much easier? Now, let’s experiment with changing the order of your array to see what happens to the total.
Follow these steps carefully:
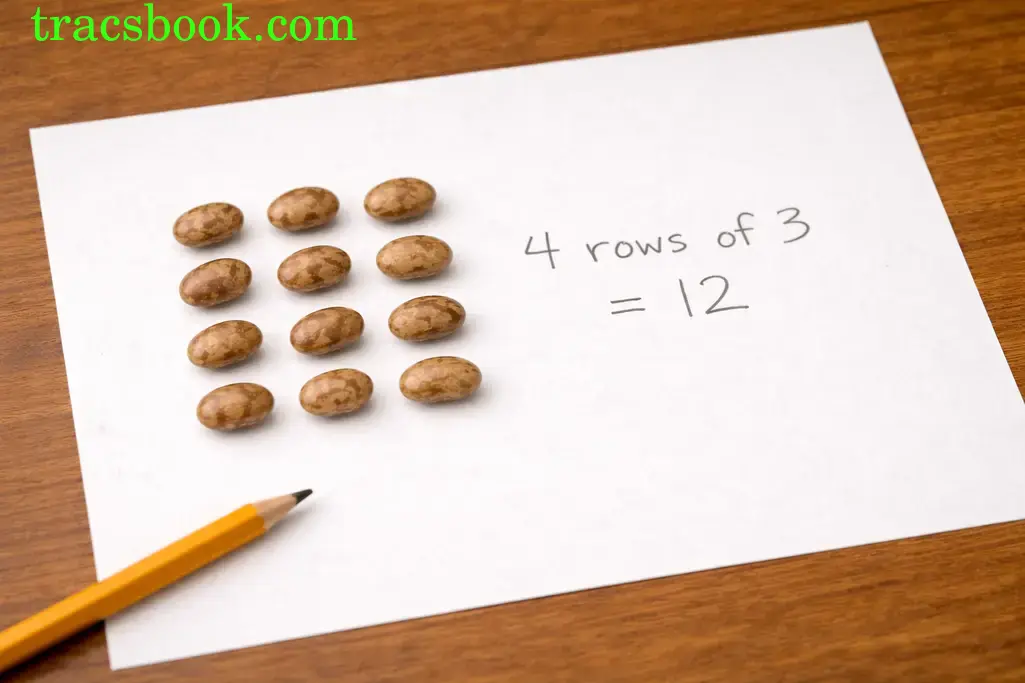
- Rearrange Your Array: Using the same 12 objects, instead of 3 rows of 4, try to make an array with 4 rows and 3 objects in each row.
- Observe and Compare: Once you’ve built your 4×3 array, count the total number of objects. Is the total the same as when you had 3 rows of 4? What does this tell you about multiplication?
- Explore Other Tables: Try building models for other multiplication facts. For example, use your objects to show 2 rows of 5, then 5 rows of 2. Or try 4 rows of 6.
- Record Your Findings: On your paper, sketch a quick drawing of each array you build and write down the total number of items. This helps solidify your understanding.
Build your own model and discover more!
Design-It-Yourself-1: Visualizing Equal Groups: From Concrete to Pictorial
Fantastic job with your hands-on models! Now, let’s take what you built and see how we can draw it, turning our physical objects into visual representations. This helps us think about multiplication without always needing to pick up beans or buttons.
Here’s how we visualize “equal groups”:
- Circles Represent Groups: Imagine each circle you drew earlier as a container for objects.
- Dots Represent Items: Inside each circle, we draw dots or small shapes to represent the individual items.
- Repeated Addition: When you count all the items, you are performing repeated addition.
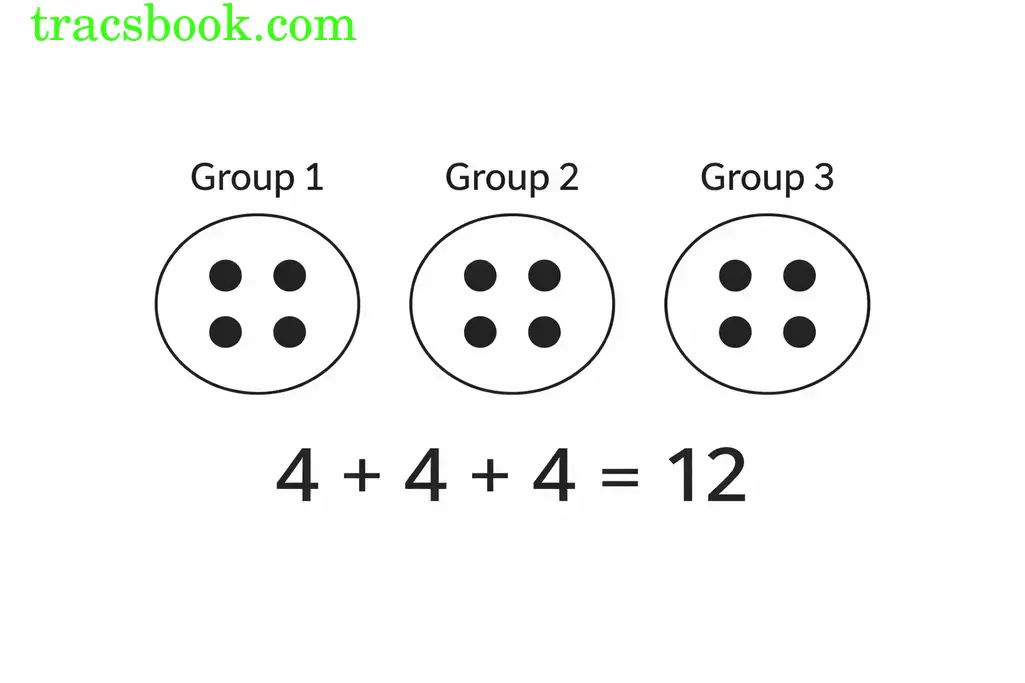
- Example: If you had 3 groups of 4 objects:
- Group 1: • • • •
- Group 2: • • • •
- Group 3: • • • •
- This visually represents 4 + 4 + 4.
- Example: If you had 3 groups of 4 objects:
- Total: The combined number of dots shows the product. In our example, 4 + 4 + 4 = 12.
This pictorial step allows us to see the structure of multiplication clearly.